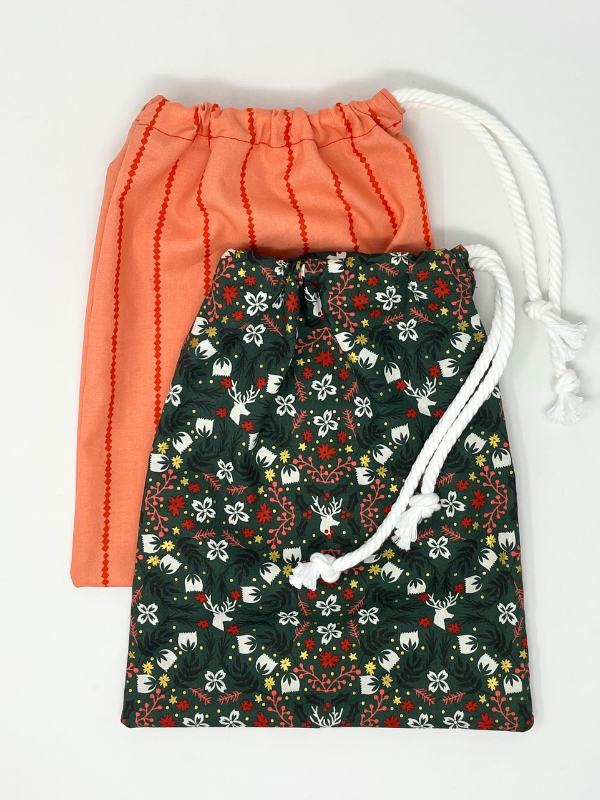
How to Sew Fabric Gift Bags
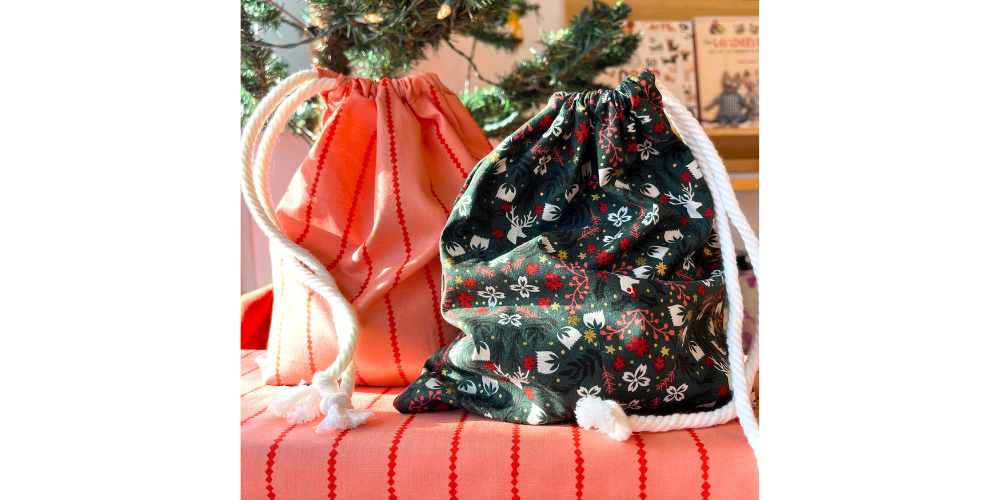
Fabric Gift Wrap
How to Sew Fabric Gift Bags
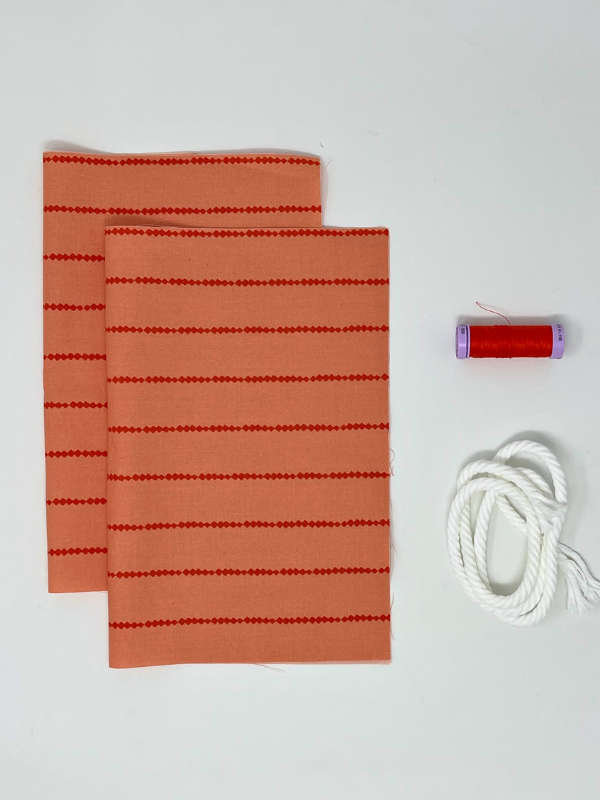
Materials List
- 1/3 yard of 100% natural fibre woven fabric - this amount will be enough for 2 bags measuring 10.5" tall x 8.5" wide.
- 30” of cord, twill tape or ribbon per bag
- 1 spool of thread
For this project, you'll also need scissors, ruler, chalk, seam gauge and a bodkin or safety pin.
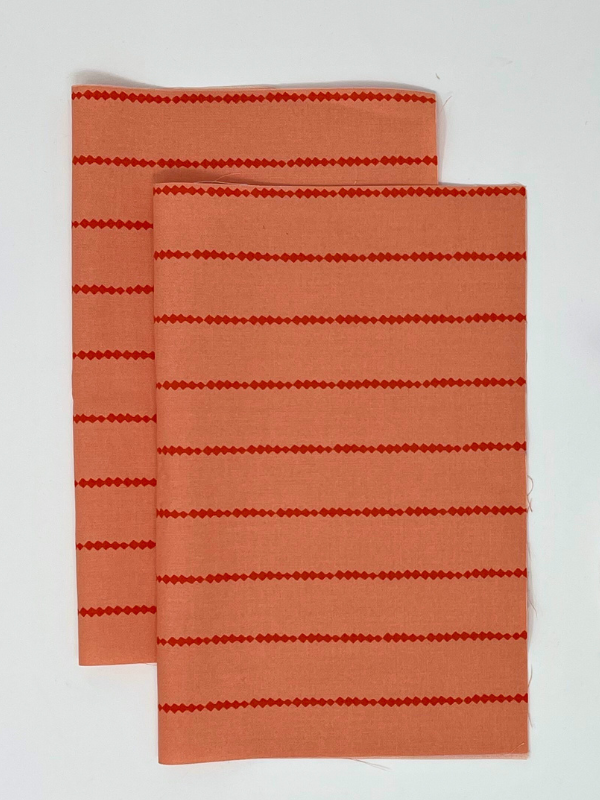
1. Cut Fabric
For a bag measuring 10.5” x 8.5” bag: cut out 2 pieces of fabric that measure 12” x 9.5” each. If you are using directional fabric, the top of your bag will be one of the 9.5" sides. If you're making your own sized bag, first generously determine how big the finished size of the bag needs to be, then add 1.5" to the height and 1" to the width for the casing and seam allowances.
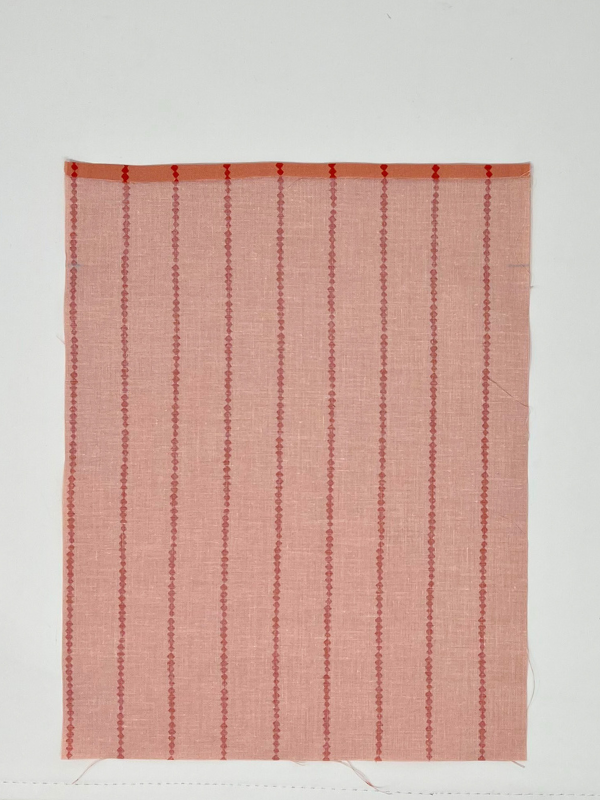
2. Hem Edges
For the drawstring channel, we're going to make a casing to hold the cord.
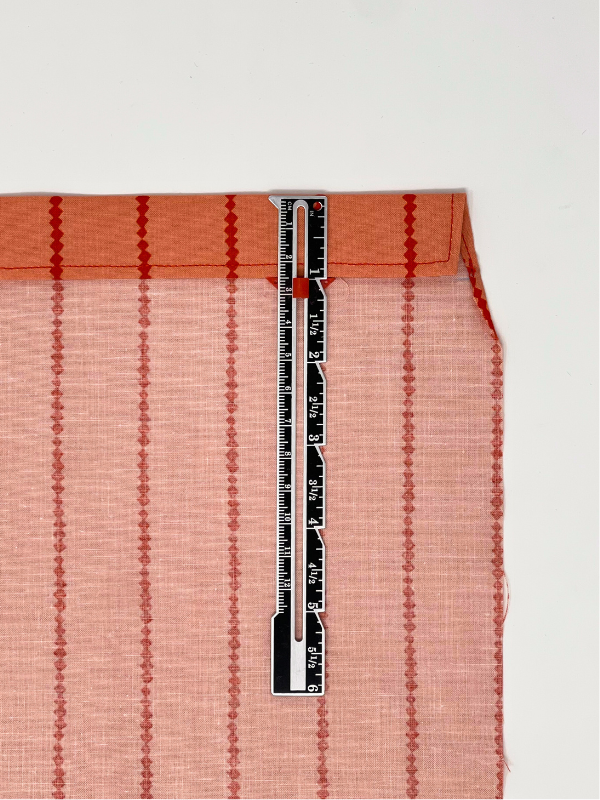
To do this, press towards the wrong side 1/4" along the top edge of your gift bag. This is one of the 9.5" sides, and if using a directional print, the top of your bag.
Next, working from the folded edge, measure down 1 3/4" and make. a small chalk mark.
Repeat on your second piece of fabric.
3. Finish Casing
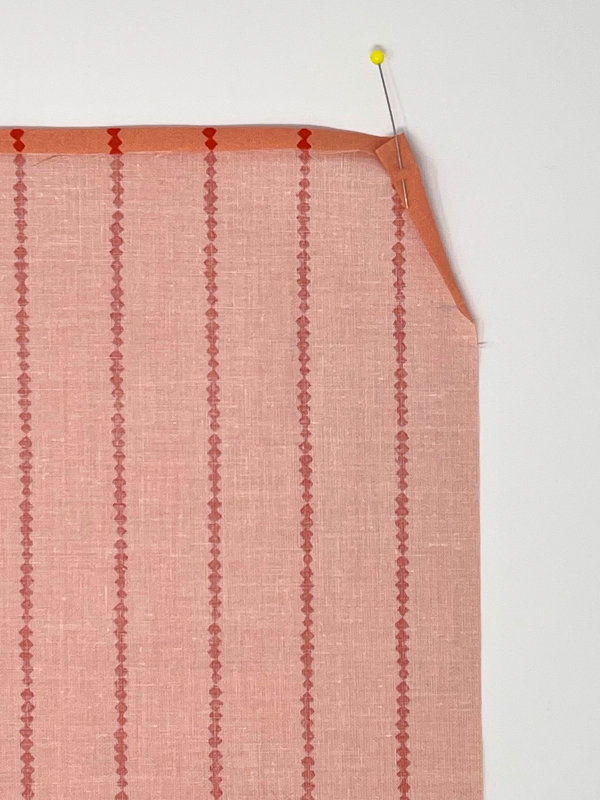
Next, we need to finish the opening of our drawstring casing.
Working from the folded edge to our 1 3/4" chalk marking, we need to fold the fabric over twice towards the wrong side. Measure and 1/4" along the folded edge, working towards a very tiny fold by your chalk marking. Repeat again so that the raw edge is tucked in. Press with an iron and pin.
Repeat on the other top corner of your bag.
Repeat on your second piece of fabric.
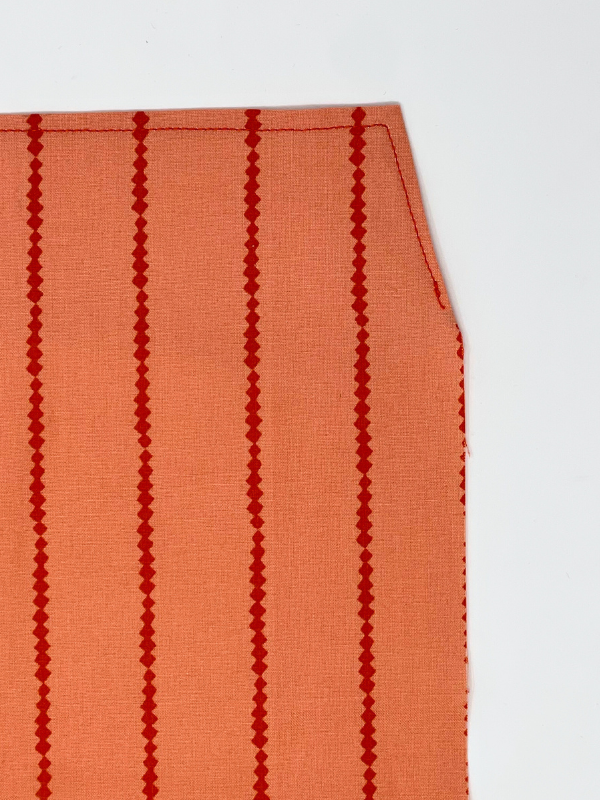
4. Finish Hem
Sew the hem of your casing using a 1/8" seam allowance. Start at one chalk marking, sew to the corner, pivot and continue sewing across the top of your bag and down the other 1 3/4" hemmed section.
Repeat on your second piece of fabric.
5. Create the Casing
With the wrong side facing up, take the top edge and fold it down 1”.
Next, sew this edge using a 7/8" seam allowance. Leave the ends un-sewn to create the casing for your cord.
Repeat on your second piece of fabric.
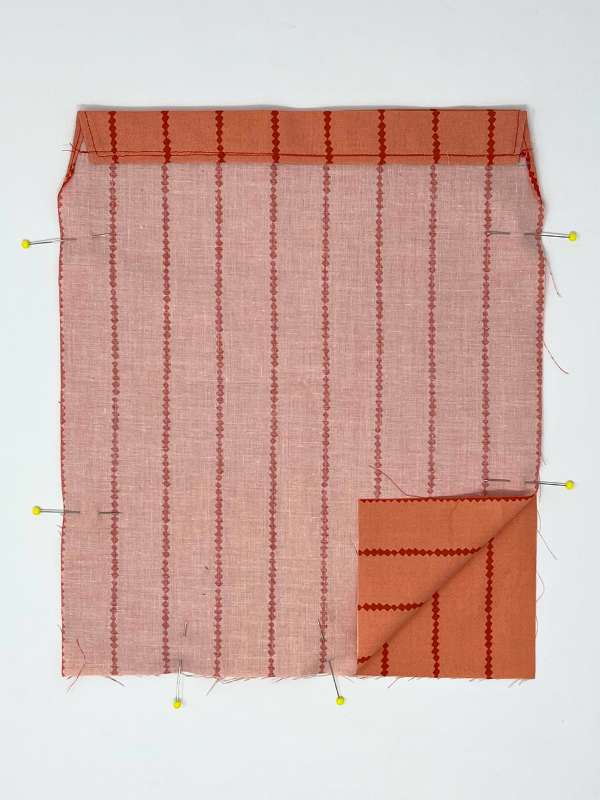
6. Sew the Bag Together!
Line up the edges of your two pieces of fabric with the right sides together and the top edges aligned. Pin.
Sew these sides with a 3/8” seam allowance, leaving the top of the bag open. Make sure to backstitch well at the beginning and end, and leave the casing area un-sewn.
7. Finished Bag!
To use your bag again and again, we recommend finishing the inside with a overedge stitch or pinking shears.
Turn your bag right side out. Looking good!
Take your 30” piece of cord and attach a bodkin or safety pin to one end for threading through the casing. Feed it into one opening, around the top of the bag and out the same side you started at.
Tie knots at end of the cord or tie the ends of the cord together so they don't slip out.
Your fabric gift bag is complete! Super great bag!