How to Make a Muslin and Be a Better Sewist

Muslin - What is it?
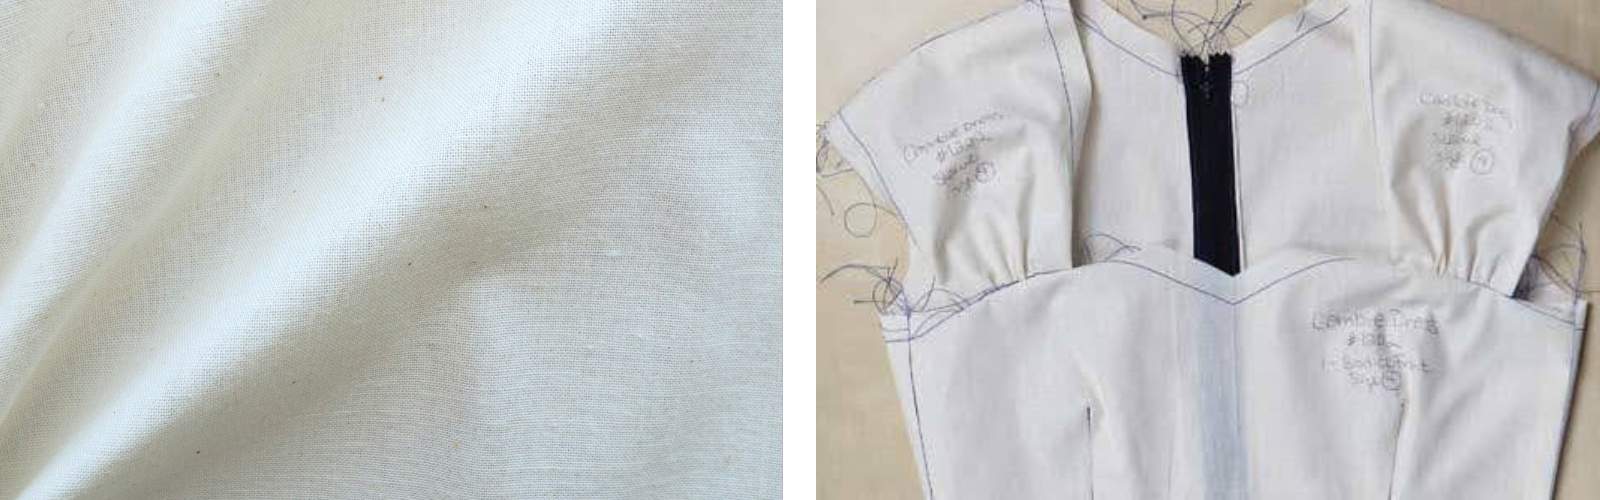
Muslin can refer to two different things in sewing. First, Muslin is a woven cotton fabric, either bleached or unbleached. Alternatively, “a muslin” refers to a test garment, often made using
muslin fabric, that’s sewn to test a pattern. This test garment allows the sewist to work out any fitting changes before cutting into the project fabric. While it is commonly referred to as a muslin, it can also be called a “toile.”

Muslin Examples

On the left, Muslin fabric. On the right, an example of a test garment, called a muslin.

  • WHEN DO YOU USE IT?

    • Muslin fabric is used for making test garments, as well as for interfacings, underlining and support fabrics.
    • A muslin test garment is used to test the fit of a new pattern. You can also use muslin to mock up challenging parts of the pattern before sewing with your project fabric. A good sewing habit is to make a muslin for every new pattern you use.

WHEN SHOULD YOU MAKE A MUSLIN?

If you always, always make pattern adjustments, then you’ll probably want to make a muslin each and every time you make something for yourself.

Depending on the adjustment, you may be able to make a partial muslin (just the bodice) to check the fit. Just don’t forget to consider how the rest of the garment will affect the fit. A heavy full skirt, for instance, will affect the way a bodice fits.

If the pattern is very fitted, it’s best to make a muslin. Loose-fitting and relaxed-fit patterns have more room built in for wearing ease, so it’s less important to check the fit first.

If you won’t be able to fit as you go, I recommend making a muslin. Some patterns make it easy to adjust the fit as you sew. Some make it really hard because of the order of construction. Read through the pattern instructions and see if there is an opportunity to try on and fit the pattern before it’s completely sewn up.

Your fabric choice may also determine whether you need to make a muslin. If you are limited on fabric, it’s a good time to sew a muslin, as you won’t be able to recut pieces if needed. If your fabric is particularly expensive or irreplaceable, making a muslin ensures the final garment will fit just right.

Finally, sew a muslin if you are unsure about a project. Making a muslin instead of cutting into your project fabric first allows you to fully explore the pattern instruction, design and fit. If your project turns out not like you planned, its ok! If you had sewn from your good fabric, then your fabric would be wasted. Sewing a muslin saved you from creating a garment you won't end up wearing, which reduces waste and creates a more sustainable sewing practice.

HOW TO MAKE A MUSLIN TEST GARMENT

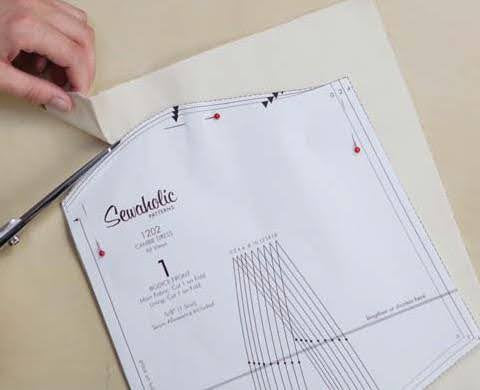
CUT NEEDED PATTERN PIECES FROM MUSLIN FABRIC

Cut your pattern pieces from muslin. You can skip facings, pockets and anything that does not make up the structure of the garment.

If you’d like to test something specific that doesn’t affect the fit, such as the pocket placement, then include that piece in the muslin garment as well.
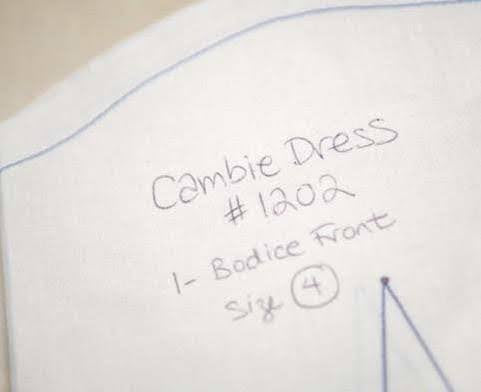
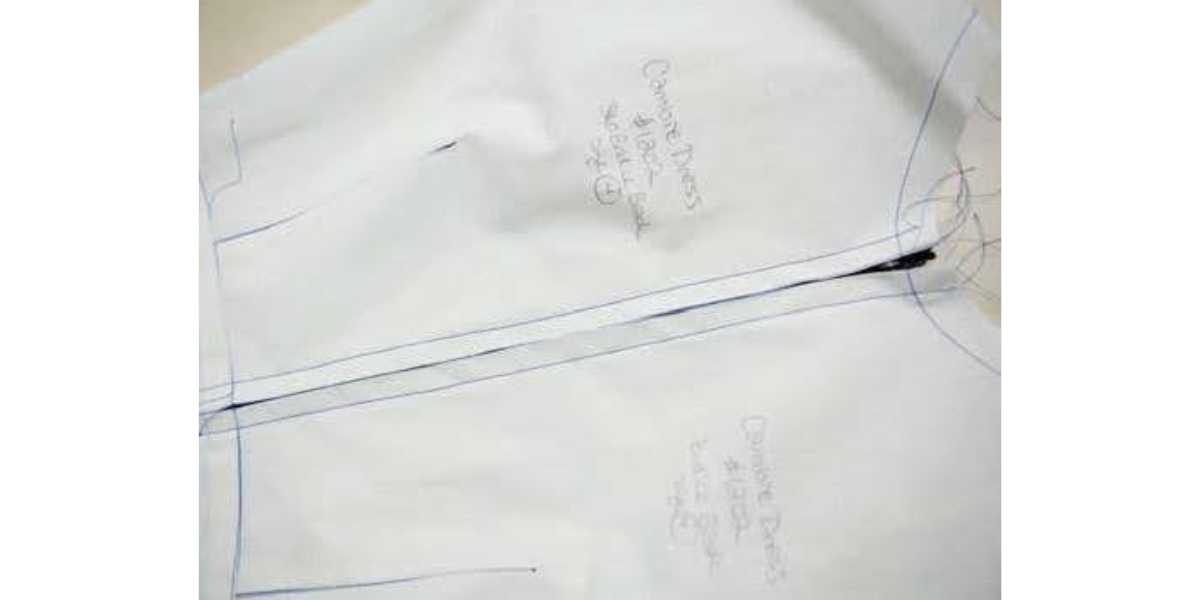
MUSLIN PREP

Label each muslin fabric piece with the pattern name, number, size and description of the pattern piece.

Mark darts, pleats and other internal markings.

I like to write with a ballpoint pen, because it’s permanent and won’t disappear as you fit the muslin.

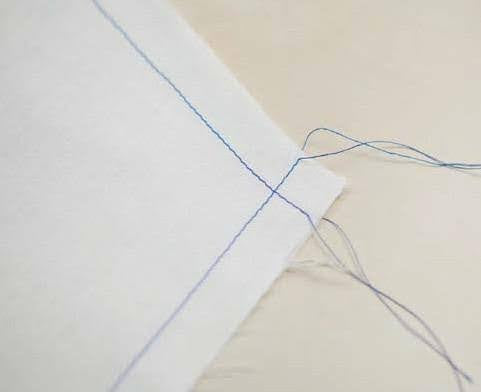
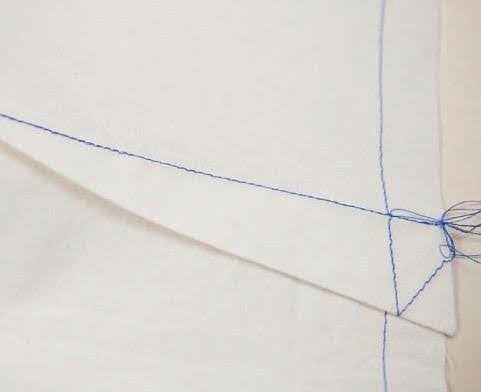
BASTE ALONG SEAM ALLOWANCES

Machine baste along the seam lines, tracing out all edges and any darts. I do this so that sewing the muslin can be like sewing with the tissue pattern pieces.

Everything is marked and labeled, and the seam lines are super clear. Any changes you make will be easy to apply to the pattern pieces this way. Run your stitching off the edges of the fabric; don’t pivot at the corners.

Once you've sewn your muslin this step will make it easier to see the updates you need to make to the paper pattern pieces. If you need to let out the seams, or to take them in, you’ll have a clear idea of how far the new seam lines are from the original stitched seam lines.

SEW DARTS, PLEATS, TUCKS

Sew all of the darts, pleats or tucks in the muslin testing garment. This should be easy because you’ve stitched the pleat/tuck/dart lines with machine stitching, which is easy to follow.

Press the darts, tucks or pleats toward the center or down, as you would on the real garment.

SEWING YOUR MUSLIN

First, figure out where the garment's closure is and leave the seam with the closure unsewn.

Next, sew up the pattern according to the sewing instructions. Accuracy is important because if the seams aren’t sewn to the correct seam allowance, the fit will be off, and that’s the whole point of making this test garment.

Determine what closure is needed for the pattern. If your garment requires a zipper, pin it along the closure opening. Baste it into place. Even if you’re only making a muslin of the bodice, pin the correct-length zipper into your muslin bodice so that you’re able to unzip it properly and try it on.

If your garment has buttons and an overlap, mark center front, button and buttonhole placement so you know how far to overlap the edges when trying the garment on.

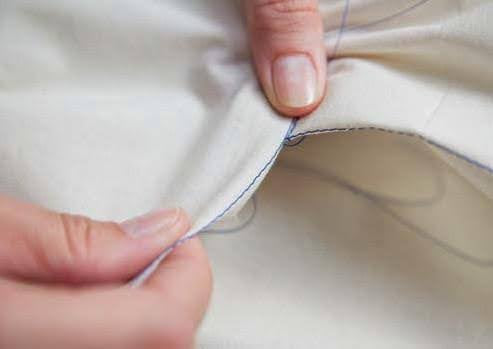
WHAT TO DO WITH UNSEWN EDGES

For muslin edges like the neckline and armscye, clip curves up to the seam allowance basting line, and then fold and press your seam allowances to the wrong side of your muslin. This will give you a better idea of where the neckline will sit and where the outer edges of your garment will be.

If you prefer, you can cut and sew facings to finish the edges instead of clipping.

Try on the muslin garment, and make adjustments as needed. Remember to wear the same undergarments you plan to wear under the finished garment.

  • TIPs + TRICKS

    • Use a test fabric that is similar to your project fabric. For knit fabrics, use a knit fabric with similar stretch for the muslin. For heavy garments such as coats, use a heavier fabric for the test garment.
    • For major pattern adjustments, multiple muslins may be required. Thats ok! Keep making muslins until you are happy with the finished results.

YOU CAN DO IT!

I'll be honest, muslin making isn't always my favourite step either, but i promise once you get in the habit of creating one for every new pattern, it quickly becomes an important part of a sewing practice.

It is slow going, but it ensures that your garment is going to turn out just how you wanted. It is a part of building a sustainable wardrobe, as without making a muslin, it's so easy to create a garment that you really don't like. Think of muslin making as trying on a piece of clothing before you buy it.

After making a muslin, you'll know the garment you are sewing inside and out. I find it helps me visualize how I can sew multiple variations of the same pattern.