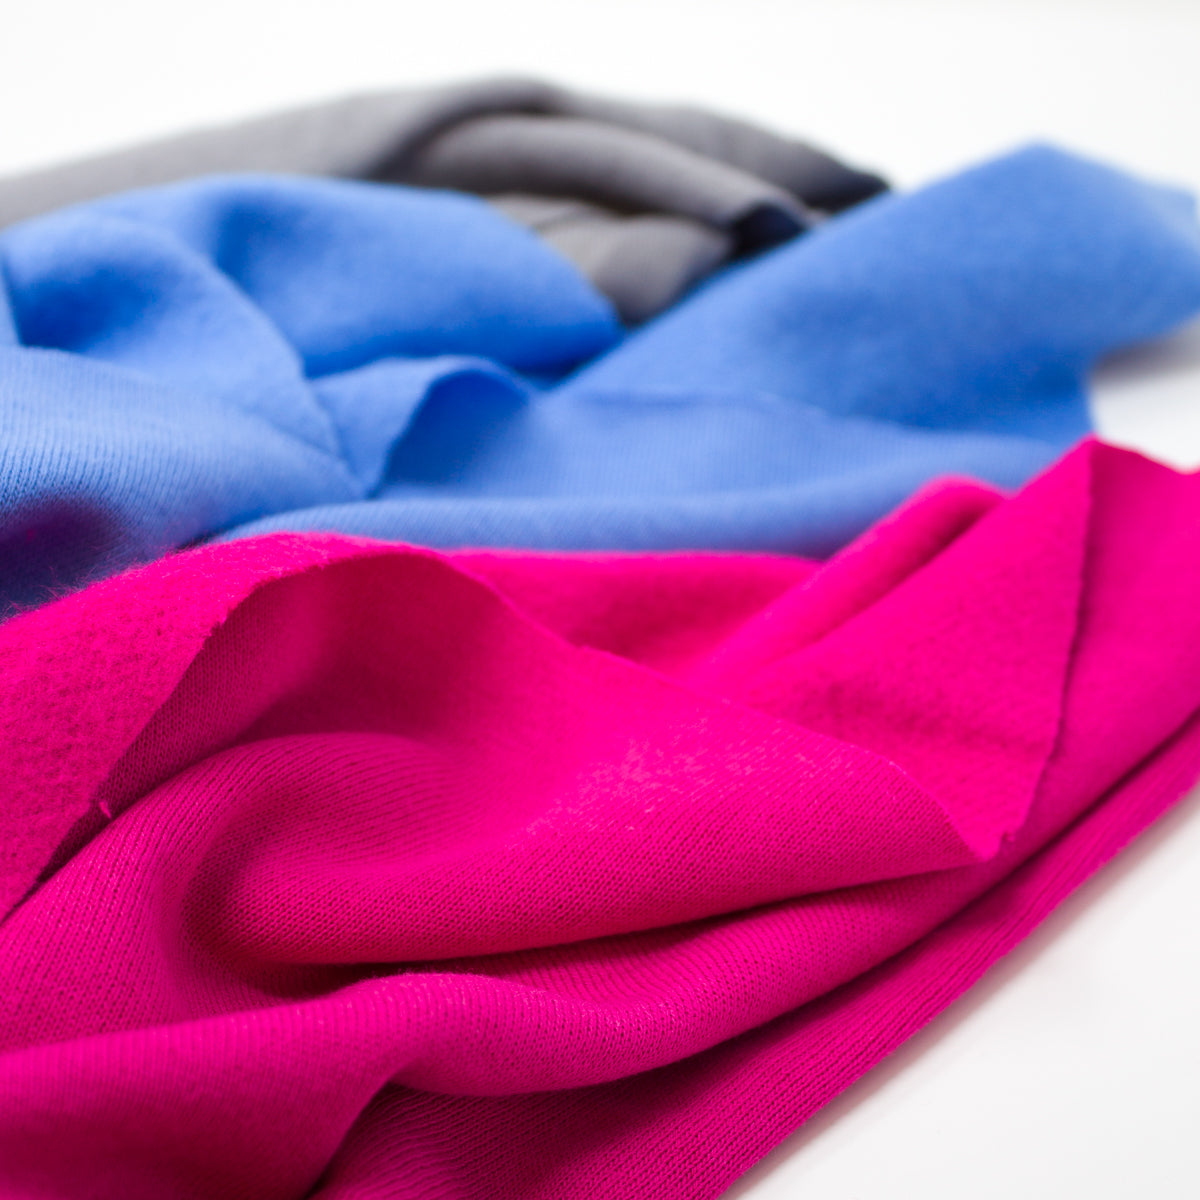
Willow Fleece is our pick for all things comfy and cozy, just in time for cool-weather sewing. The bamboo-cotton blend boasts a gorgeous drape, a soft hand feel, toasty warmth and the perfect amount of stretch.
Versatile pieces like the Linden Sweatshirt, Emerson Pants, Neighbourhood Hoodie and Tobin Sweater made of Willow Fleece will help build a fall wardrobe that you’ll love to wear all season long.
If you’re a first-timer in the fleece world, read on for some tips and tricks. From machine settings to seam finishes, we’ll go over best sewing practices to make sure your fleece project is a success from start to finish.
Setting Up Your Sewing Machine
If you’ve ever had one layer of your fabric “run away” as you sew, you’re not alone! This is common with stretchy fabrics like fleece, which often feed unevenly into the machine. Luckily, there’s an easy fix and it’s called the walking foot. A walking foot attachment includes another set of feed dogs which makes sure both layers of your fabric move along at the same rate. Goodbye pesky puckering!
After you switch out the foot, you’ll want to switch your needle, too. Needles with a ballpoint tip, like Jersey Needles, are ideal for fleece fabric. Unlike regular sharp needles, the slightly rounded tip will gently pierce the fabric without tearing it.
Seam Settings
Because of its thickness and stretch, fleece requires a couple of quick adjustments for smooth seams.
First, you’ll want to increase the stitch length. The standard stitch measures 2-2.5mm, which is usually too short for fleece causing it to pull and gather. We recommend increasing the length to 3-4mm, depending on how thick your fleece is. This will help it lay smooth and flat while giving your seams more room to stretch.
When it comes to the type of stitch, opt for a lightning stitch, narrow zig-zag, or any stretch stitch on your machine. Stretch stitches will accommodate the push and pull of a garment without breaking the thread.
Always remember to test the settings on your fabric and make any adjustments needed before sewing your project.
Cutting Your Pieces
Time to whip out the scissors…sharp scissors to be exact. Using dull scissors on fleece can give your hand an unwanted workout while leaving rough, jagged edges on your project.
If your fleece is especially thick, cut one layer at a time instead of two. Just remember to flip your pattern over before cutting your second piece. Although it’ll take some extra time, the precision and ease of cutting will be worth it!
Sewing
Since fleece can stretch out, double check that your fabric isn’t hanging off the table as you cut and sew. Along with that, gently guide the fabric instead of pushing or pulling it while sewing. These quick tips will help keep your fabric in excellent shape!
Next, let’s talk pins. Pinning multiple layers of a thick and drapey fabric like fleece can sometimes cause short pins to slide off mid project. As a solution, long quilting pins are a great way to hold your fleece layers in place.
Finishing Your Seam
Finishing touches will make your project look as fabulous on the inside as the outside.
Serging, overcasting, zig zag stitches or pinking shears all create beautiful finishes while containing the bulk of the fleece.
As for hems, our Willow Rib is the perfect companion for our Willow fleece and makes gorgeous collars, cuffs and waistbands. Otherwise, you can simply fold and press the hem using a seam gauge and iron, and then zig zag over the raw edge of the fabric.
Zippers and Embellishments
Fleece garments make the coziest winter wear that’s often embellished with zippers, applique, snaps and other hardware. Since these notions are heavier than the fabric itself, it can cause fleece to sag or stretch out over time. We recommend applying woven fusible interfacing to the area the notion will be attached to create stability in the fabric. Not only will this make for a smooth and professional finish but it’ll be durable too!


